
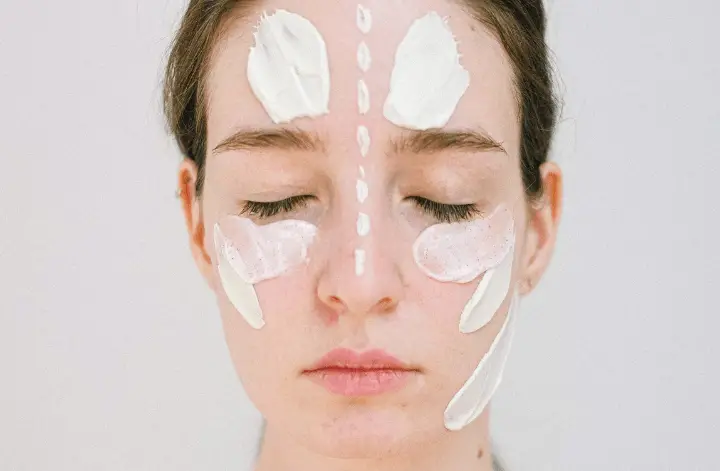
In this post you’ll find a selection of the simplest and most effective DIY Face moisturizers.
I’ll explain what are the most basic ingredients you’ll need to effectively moisturize your skin and in what steps to apply them, in the most beginner-friendly approach to DIYing your face moisturizer.
This means that I will not feature any DIY oil and water emulsions, aka creams or lotions.
DIYing a cream is not too complicated, but I wanted to write a sort of entry-level post about face moisturizers, with recipes that anyone could do, without hassle or prior knowledge (even if you can’t boil an egg).
Making a cream can be as simple or as complicated as you want to make it, but even the simplest cream will require some basic equipment, a proper emulsifier (to mix the water and oil phase correctly), and of course a preservative.
Since making a cream is a bit more involved and not everyone wants to bother (many times I don’t, to tell you the truth), I decided to leave that for a separate post.
Here I will explain the difference between hydrating and moisturizing (and why you need both)! And the simple way to do that, without making a cream. I will then give you a list of the 3 most effective hydrators, followed by a basic recipe for you to make a customized face nourishing oil (moisturizer), according to your skin type.
In total you will need as little as 3 ingredients for your DIY face moisturizers (one of which might be water)!
Related content: A Simple DIY Skin Barrier Repair Cream (3 ways)
Moisturizing vs Hydrating (& why you need both)
Moisturizing gets used interchangeably with hydrating, but it’s not actually the same thing.
Hydrators are ingredients that bring water to the skin (humectants), plumping it and keeping it supple. Moisturizers are ingredients that bring emollients (oils) to the skin, smoothing it and helping lock in the hydration.
All skin types require hydration and moisturing. Dry, normal, and oily are skin types defined by the amount of sebum (natural oils) they produce, but all of them can get dehydrated if they lose too much water.
Likewise, your skin may be well hydrated, but if you lack a proper protective barrier (i.e., the skin’s own oil production is inadequate) your skin will feel dry, because the water is lost by evaporation.
Hydrators and moisturizers can be separate products, or they can be combined into one.
A cream or lotion is a good example – it has a water phase and an oil phase mixed together (and stabilized). It adds hydration (water) and it helps to smooth the skin and keep it from losing that hydration (oil).
But you don’t need to fuss with lotion making, in order to make DIY face moisturizers.
How to properly “moisturize” your skin?
To properly moisturise your skin, you need to give it water AND oil.
You can do that through a classic moisturizer, a.k.a. a cream. Or you can make it really easy and use a hydrating toner (water based), followed by a nourishing face oil or fat to help lock in that hydration, nourish the skin, and smooth it out.
This post will go over this last method.
So, below is a list of the best and most convenient hydrators and moisturizing oils, to make simple DIY face moisturizers.
You can use this quick lymph draining face massage to massage the oils in, for added benefits.
Most effective DIY face moisturizers
THE METHOD
STEP 1
Pick one of the hydrating ingredients from the list of hydrators below.
STEP 2
Pick your carrier and essential oils from the list of moisturizers that will follow.
STEP 3
Combine and mix both in your hand to apply to the skin.
Or
Apply the hydrator first and follow with the oil mixture, while the skin is still wet.
…and badda-bing, badda-boom – easy peasy DIY face moisturizers!
HYDRATORS
So, hydrators will draw water to the skin (humectants). This means that they will pull water from the atmosphere or, if there is low humidity, from the deeper layers of the skin.
By attracting water to itself and spreading out in the top layer it produces a bulking effect, smoothing out wrinkles and lines. They literally plump the skin and it’s the first step after you’ve cleansed your face.
Pick one of the 3 options below for the first step in your DIY face moisturizers.
1 – Hyaluronic acid (HA)
HA is a substance the body produces for the purposes of retaining collagen, increasing hydration and lubrication. It’s found in highest quantities in the skin (more than 50%), as well as inside joints and tendons.
Generally speaking, it boosts the production of keratinocyte cells that protect the skin from aging, helping in skin healing and wound repair. It increases skin hydration and prevents water loss.
You find it as an ingredient in a lot of beauty products, but many people don’t realize you can buy the HA powder and just make your own stuff – it’s a lot cheaper!
You mostly find two types of hyaluronic acid powder for sale: high molecular weight (HM) and low molecular weight (LM).
The HM acid works on the top layer of the skin only, but the LM acid is able to penetrate the stratum corneum (outer layer of the skin) and reach deeper. It can also carry active ingredients to the deeper layers of the skin – it’s an effective delivery vehicle. (*)
Basic Hyaluronic acid gel recipe
The basic recipe for making your own HA gel is incredibly simple!
- 1gr of HA powder (approx. 1/4 teaspoon)
- 100gr/ml of distilled water (approx. 1/2 cup)
You can keep it in the fridge for about 2 weeks or so without preservatives. If you add a preservative, it will keep for much longer, of course. I find that I use up the 100ml very easily within that 2-week window, using it on my body and face.
You can either use the gel directly on the skin, or use it as an ingredient in whatever DIY lotion or creams you want to make.
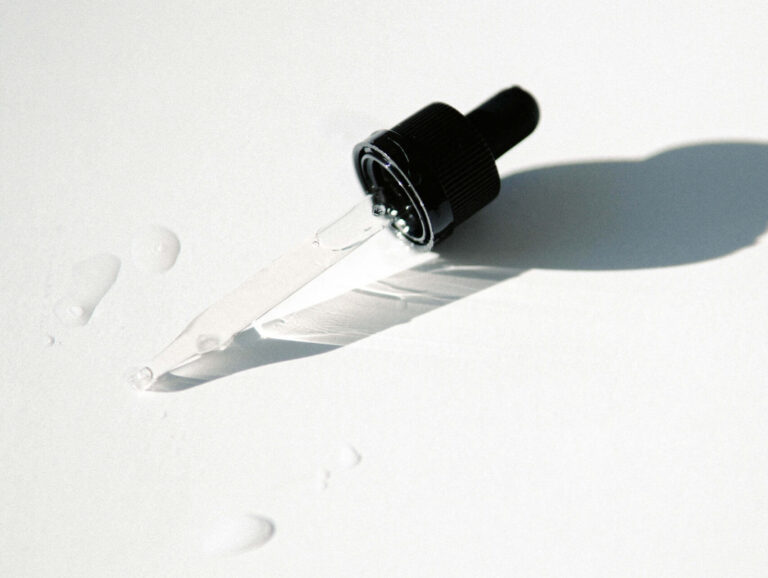
2 – Glycerin
Glycerin is actually a more powerful humectant than HA, meaning it draws even more moisture to itself. It’s a great staple ingredient to have on hand, when making DIY face moisturizers.
If the humidity in the atmosphere is at 6% or less, glycerin doesn’t act like a humectant at all, but instead as a moisturizer and skin conditioner.
It also helps restore the barrier function of the skin, so it’s useful in healing and protecting it, slowing down water loss by evaporation. It has also been proven to protect against irritation from harsh cleansers and chemicals like acetone.
These beneficial properties refer to diluted glycerin only, since pure glycerin has actually a drying effect. It has been shown to be most effective when diluted in a water-based solution. Commercial formulas usually have it at low concentrations, between 1 and 10%.
It has also been shown to have antiviral properties, for instance against herpes simplex.
Basic glycerin hydrating toner
- 1 Tablespoon (15 ml) or ½ Tablespoon (7.5 ml) glycerin
- 100 ml (approx. ½ cup) distilled water
Glycerin is a bit prone to bacteria, although I have to say I’ve never really had a problem with it and I don’t use preservatives. Just sterilize the bottle, use distilled water, and you can keep it in the fridge as well to extend shelf-life.
3 – Aloe Vera Gel
Another great staple in DIY face moisturizers. Aloe vera gel is not only a humectant, it is a powerful skin healer and antioxidant.
Depending on what you pair it with, it can also help draw other substances deeper into the skin.
Generally, the smaller the molecules, the greater the “pull” effect aloe vera has on other ingredients. This makes it a good one to pair with essential oils, for instance, since they will reach deeper into the skin.
How to use aloe vera gel
- 1 dollop of good quality aloe vera gel (as pure as possible)
Or
- 2 cm / 1 inch of aloe vera leaf. Cut open to expose the inner flesh, slash some cuts into both sides of the inner leaf, and rub them all over your face and neck.
If using a commercial gel, you can mix it directly with your choice of face oils (from the category below) in the palm of your hand and apply that straight to your face and neck.
Related content: A Simple Spa Day Facial Experience You’ll Love!
MOISTURIZERS
So, you need water first and then an oily coat that will help your own skin’s protective barrier do its job, of preventing that water from being lost.
Pure nourishing oils are a great addition to your skincare routine, either mixed in the moment with some water or toner in the palm of your hand, or applied directly to your skin while it’s still wet.
Either way, apply and massage it in until you feel it has been absorbed.
If your skin is dry or needing extra protection (like in cold weather) you can use butters instead, either alone or mixed with another oil for a richer feel.
Basic nourishing face oil recipe
To use, simply squirt half a dropper onto the palm of your hand and apply that to your face and neck, while it is still wet from the toner (hydrator).
Massage into skin until it’s absorbed.
If using butters, just rub a small dollop between your hands to melt it and apply to skin, after the hydrator/toner.
If you want to mix butters with some oil, just put both in a glass jar and melt it in a water bath until liquid. Mix well and set aside to cool down. Depending on how much butter and what kind of butter you used, it might be more or less thick.
Pick one or more carrier and essential oils from the list below for the second step in your DIY face moisturizer.
Which oils to choose according to skin type
The skin tends to overproduce sebum (natural oils), so it’s best to use lighter, fast-absorbing oils to avoid clogging your pores.
Good oils in this category are tamanu, jojoba, grapeseed, rosehip, linseed, apricot kernel.
The best essential oils: lemon, basil, lavender, clary sage, rosemary, tea tree, or thyme.
The skin is neither oily nor dry, so try oils that are not too heavy or too light. You can try pumpkin, almond, sesame, argan, jojoba, sunflower.
The best essential oils: lavender, geranium, chamomile.
You need gentle oils that will soothe your skin. Try jojoba, rosehip, linseed, or apricot kernel.
The best essential oils: chamomile, lavender, frankincense, geranium.
Go for thicker and more protective oils and butters. Olive, avocado, sweet almond and coconut are good choices. Also, any of the butters (cocoa, Shea, mango – in decreasing order of thickness and protection).
The best essential oils: chamomile, myrrh, clary sage, sandalwood.
You may experience irritation, dryness and/or breakouts, so it will vary. Focus on very nourishing oils such as rosehip, argan, jojoba, tamanu, pomegranate.
The best essential oils: lavender, frankincense, myrrh, cypress, neroli.
Related content: How I Cleared Up My Acne Naturally in 3 Months
So I hope you found it useful. I’ve been using this method for DIY face moisturizers for over 15 years and it’s definitely my favorite. It allows a lot of customization and I can be sure that the ingredients are always 100% fresh.
If you liked it, please check out my two other posts on DIY face cleansers and DIY face toners, for a complete minimalist and DIY skincare routine.
Please let me know if anything isn’t clear, or if you have any questions, in the comments below. Also, please share any good DIY face moisturizers of your own, if you’ve found a winner!

Can I blend the glycerine/water mixture with melted coconut oil or cocoa butter and an essential oil to make 1 humectant/moisturizing product yo use twice daily? Would it need to be refrigerated or can I keep it on the counter in small quantities ?
Hi Lynn,
Anytime you add water, or water-based ingredients, to an oil, or oil-based ingredient you need to:
1) use an emulsifier to mix the two into a cream texture (otherwise they’ll just separate)
2) add a preservative of some kind (because water attracts bacteria)
That’s why this moisturizing method I describe here is less fussy and simpler to make – you just keep both phases (water and oil) separated and “blend”/apply them in the moment. The oil and cocoa butter wouldn’t really mix with the water/glycerin solution without an emulsifier – that would be a different recipe, to make a cream.
Also, after making the cream, if you don’t add a preservative it will just spoil quickly – even in the fridge. The only alternative solution around this would be either to make the cream in very small batches (enough for maybe 3 days) and keep it in the fridge. Or to make the cream, take out a smaller amount (enough for a few days) into a different container you keep in the fridge and put the rest of the cream in the freezer – you could then take out a small amount every time, to use over the following couple of days or so.
I hope that answers the question 🙂
Thank you for sharing this!!
Thank you! Hope you find it useful 🙂