Exfoliation is one of the most useful tools you can use to improve your skin at any age. It’s also super easy to DIY! DIY exfoliation was one of the first things I got excited about, skincare-wise, and to this day it’s still a huge part of my routine, although the types of exfoliation may vary.
For all its simplicity it’s also a confusing topic for many people. Knowing which types of exfoliation to choose for your skin type or age. Contrasting the different exfoliation recommendations, the “rules” of exfoliation and how to know you if you’re doing it wrong. It can be a headache. Especially if you’ve had bad experiences with it in the past.
Here I’ll go over the DIY exfoliation basics you need to know, in terms of types and what each is best suited for. I’ll explain how to know if you’re overdoing it and how to fix it.
I’ll also share basic DIY exfoliation tips and ingredients you can start using today.
At the end you’ll find a general exfoliation guideline, subdivided by skin type.
How exfoliation works
The stratum corneum, the outermost layer of the skin, is mostly made up of dead skin cells that naturally slough off and are replaced every 2 weeks (children) to 4 weeks (adults) or even 6 weeks and longer (after the age of 50).
The frequency of this shedding depends on several factors, such as age (the younger, the faster), diet, hormones, and even weather (it’s faster in hot weather). (*)
Exfoliation helps this process along, by speeding up the removal of the dead skin cells sitting on top and “forcing” the skin to surface new cells.
Why exfoliation is important
You can be spending top-dollar on anti-aging serums and creams, but if you have a thick layer of dead skin cells sitting on top of your skin, they’re not going to reach deep enough to do much good.
Which type of exfoliation is the best?
You basically have two general types of exfoliation (regardless of if it’s DIY exfoliation or not) – physical (manual) and chemical.
Within each type, there’s a range from mild to harsh. Both types of exfoliation have their benefits and their downsides, but both can be used on any skin type, by making the necessary adjustments.
DIY exfoliation is mostly in the physical exfoliation category, but you can DIY some in the chemical department too.
Physical exfoliation
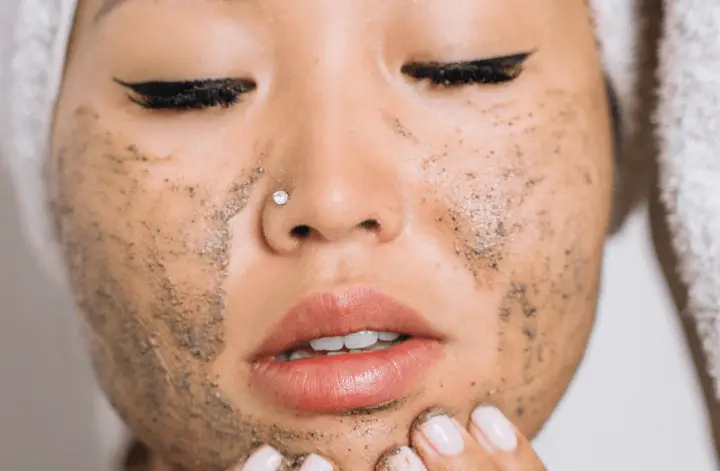
Physical exfoliation means basically buffing the skin manually with some type of granular exfoliant, cloth, brush, or sponge.
1 – Scrubs
Scrubs consist of scrubbing particles. In DIY exfoliation they’re usually made into a paste using water, milk, herbal infusions, or carrier oils.
The harshness of the exfoliation will depend on things like size and roughness of the powder used, as well as how hard you’re scrubbing.
Examples of DIY exfoliation in this category are oat flour, almond flour, chickpea flour, coffee grounds, sugar and salt scrubs, etc.
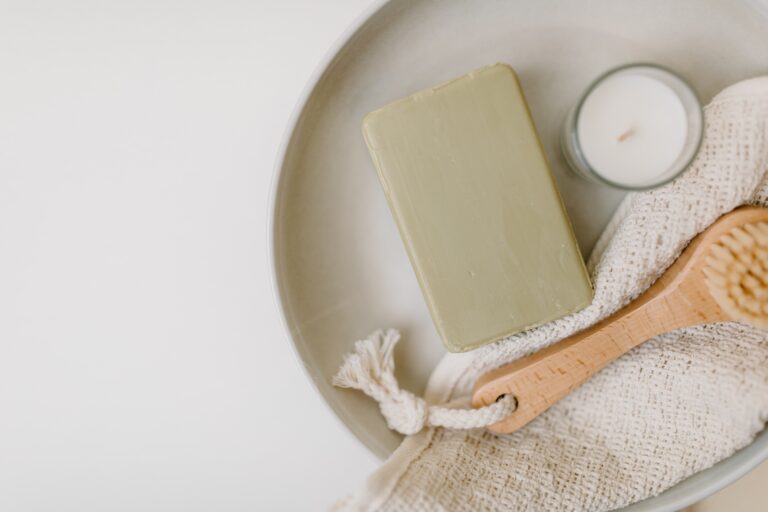
2 – Face cloths / brushes / sponges
They can be used to wipe off your cleanser, once you’ve massaged it in, or directly to apply your cleanser in circular motions.
Here the texture of the cloth will do the buffing, so depending on the harshness of the material, you’ll get a milder or harsher exfoliation.
MILD DIY EXFOLIATION:
HARSHER DIY EXFOLIATION:
Related Content: Here Are 3 Simple & Effective DIY Scalp Scrubs
Chemical exfoliation
Chemical exfoliation, on the other hand, works by breaking down, or “eating” dead skin cells. They usually also increase the natural rate of cell turnover and fade hyperpigmentation.
1 – Hydroxyl acids (AHAs and BHAs) + Other direct acids
AHAs are naturally derived acids, such as glycolic (from sugar), lactic (from milk/yogurt), malic (apple cider vinegar, apples), mandelic (from bitter almonds), acetic (main component of any vinegar), etc.
BHAs mostly refers to salicylic acid, which is derived from willow bark. You can find a synthesized version of it as the active principle in aspirin.
You can find many other acids on the market, like azelaic and ferrulic, that have effects similar to AHAs/BHAs, but are often considered milder.
Related content: A DIY Glycolic Acid Toner (the easy way)
Mild Acids & Harsh Acids
With any direct acid (hydroxyl or otherwise) the difference between mild and harsh will come down to the concentration of the acid in the formula, and/or any other buffering ingredients that might be in it.
In the case of salicylic acid, even as low as 1-2%. If making a DIY aspirin face mask (recipe down below) – start with fewer tablets and work up.
2 – Retinoids
This means tretinoin or any form of retinol. They’re vitamin A precursors with anti-aging superstar status. They’re possibly the best researched and most accredited anti-aging ingredients out there.
Tretinoin is the strongest version and, in many countries, it’s prescription-only. It has a higher probability of causing temporary unpleasant side-effects, like irritation, flakiness, and skin sensitivity.
Retinols are best used at night, since they are not very stable when exposed to sunlight, or heat. (*)
Related content: The Best Skincare For Tightening Skin Naturally
3 – Fruit enzymes
Fruit enzymes are protein-digesting enzymes that sort of “eat” and loosen the glue that holds dead skin cells together, helping them to shed.
They also have the added benefit of packing an antioxidant and anti-inflammatory punch, with assorted vitamins and minerals, when using the actual fruit.
There are different kinds, but the most commonly used are bromelain (found in pineapple), papain (found in papaya), actinidin (found in kiwis), and pumpkin enzymes.
There are many commercial formulas, but just like scrubs, they’re super easy to DIY! The DIY versions will often naturally include fruit-derived AHAs as well, like malic (apples) or ascorbic (pineapple). So you’d be getting a bit of both.
basic fruit enzyme diy exfoliation
You have different approaches:
But basically, leave on for 10 minutes and wash off.
Where does exfoliation go in a skincare routine?
I’ve written another whole post on the best skincare layering order, to help you achieve the best results. Definitely check it out.
As it relates to exfoliation, you basically want it to go straight after your usual cleanser and before toners and moisturizers.
For masks (think fruit or yogurt masks), apply after the cleanser, leave on for 10-20 minutes, and rinse off.
For toners/essences/serums, apply after the cleanser and follow with the rest of your skincare.
But basically, think of exfoliating as producing the cleanest possible slate on which to layer all your skincare for optimum results.
Related content: The Skincare Products You Don’t Need (which one are you wasting your money on?)
Can you over-exfoliate? Signs of over-exfoliation
Exfoliation is an excellent tool to improve the look and general health of the skin, but it’s easy to overdo it.
Over-exfoliating your skin can lead to irritation and inflammation, dryness, and damage to the barrier function of the stratum corneum (top layer).
If the barrier function is compromised, like the name indicates, it will open the gate for skin dysfunction and lead to more transepidermal water loss (TEWL). This reduces moisture levels and ages your skin.
Related content: Holistic Guide to Repair a Damaged Skin Barrier Naturally & A Simple DIY Skin Barrier Repair Cream (3 Ways)
Will exfoliation help acne and acne scars?
Exfoliation will absolutely help fade acne scars, but depending on the severity and type of scar, they might work best coupled with other treatments.
Retinoids are also an excellent choice, since not only do they increase cell turnover, helping to surface healthier and fresher looking skin, but they also increase collagen production, which will literally heal the scar.
Salicylic acid will also help unclog pores and heal the skin. And fruit enzymes could help with inflammation.
Related content: How to Clear Up Acne Naturally in 3 Months
Should you exfoliate when using retinol?
Depending on the type and concentration of retinoid you’re using, you might go through an adaptive period where your skin is irritated and/or flaky.
This is especially the case for prescription-only tretinoin treatments, but it can also happen with your basic over-the-counter retinols.
If you’re experiencing increased skin sensitivity, added exfoliation will probably make things worse. Having said that, mild physical exfoliation might help in case of flakiness.
GENERAL DIY EXFOLIATION TIPS
- Start with one type of exfoliation once a week and do it for a couple of weeks, before increasing frequency or adding another type of exfoliation.
- If using chemical exfoliation – always patch test first! Especially if your skin is on the sensitive side.
- If showing signs of over-exfoliation: dial back! Give the skin a week of rest and start slowly again, either reducing frequency, trying a milder form of exfoliation, or if using more than one exfoliator, cut back.
- You don’t need to exfoliate every day! There’s no need – generally 1 to 3 times per week is enough. You can do more, but find your sweet spot.
Exfoliation for sensitive skin
Try a gentle physical DIY exfoliation, such as oat or almond paste, mixed with milk instead of water. Milk (and yogurt) is very soothing.
Go for a castor sugar scrub, letting the sugar soak for a couple of minutes first to soften the granules.
Try a fruit enzyme exfoliation, applying the juice, pulp or rubbing the inside of the peel on your skin. Leave on for only 5 minutes at first. If there is no reaction, try increasing to 10 minutes next time (up to 15 minutes).
Apply the exfoliators cautiously, only once a week at first, with short exposure times, and dial back at the first sign of irritation.
Exfoliation for dry skin / dehydrated skin
Try a moisturizing DIY exfoliation:
- oats + milk (moisturizing qualities of oats + hydrating qualities of the lactic acid) (*) (*)
- yogurt masks (hydrating qualities of lactic acid + natural fats)
- add carrier oils, like olive or coconut, to any of the powders in order to make your scrub (remove with a soft and warm wet face cloth or pad)
AHAs in general will provide gradual exfoliation, while reaching the lower layers to improve barrier function of new skin cells. They will also gradually improve the hydration level of the skin.
Make sure to include a protective moisturizer in your routine that’s going to help seal that moisture in.
Exfoliation for mature skin
I’ve written another post about the anti-aging, skin-tightening benefits of adding both into your skincare routine, as well as how to pair them so that you’re getting the best results possible. Also to make sure you’re using them correctly, so as to not irritate your skin.
Essentially, use retinoids at night only and not at the same time as the AHAs. On the nights you use retinoids, don’t use AHAs.
Retinoids and AHAs will increase the cell turnover rate, fade wrinkles, hyperpigmentation, tighten and even out your skin.
Exfoliation for oily skin
You can go for mild or harsher physical exfoliation, depending on how your skin reacts.
Try a salicylic acid toner or DIY aspirin mask. It will penetrate the pores and provide antibacterial properties.
basic diy aspirin mask
Exfoliation for acne-prone skin
Acne-prone skin can be overstimulated and aggravated.
Exfoliation doesn’t have to be complicated. I find that if you start slow and simply see how your skin reacts, build from there and you usually can’t go very wrong.
Whether you’re keen on all the DIY exfoliation recipes out there, or you rather get more technical with all the exciting state-of-the-art formulations, the basics of it remain the same.
I hope this took some of the headache out of the exfoliation equation and that the information makes you more confident about adding this great step to your regular routine.
Let me know what you think and comment below if you have any tips or questions!
