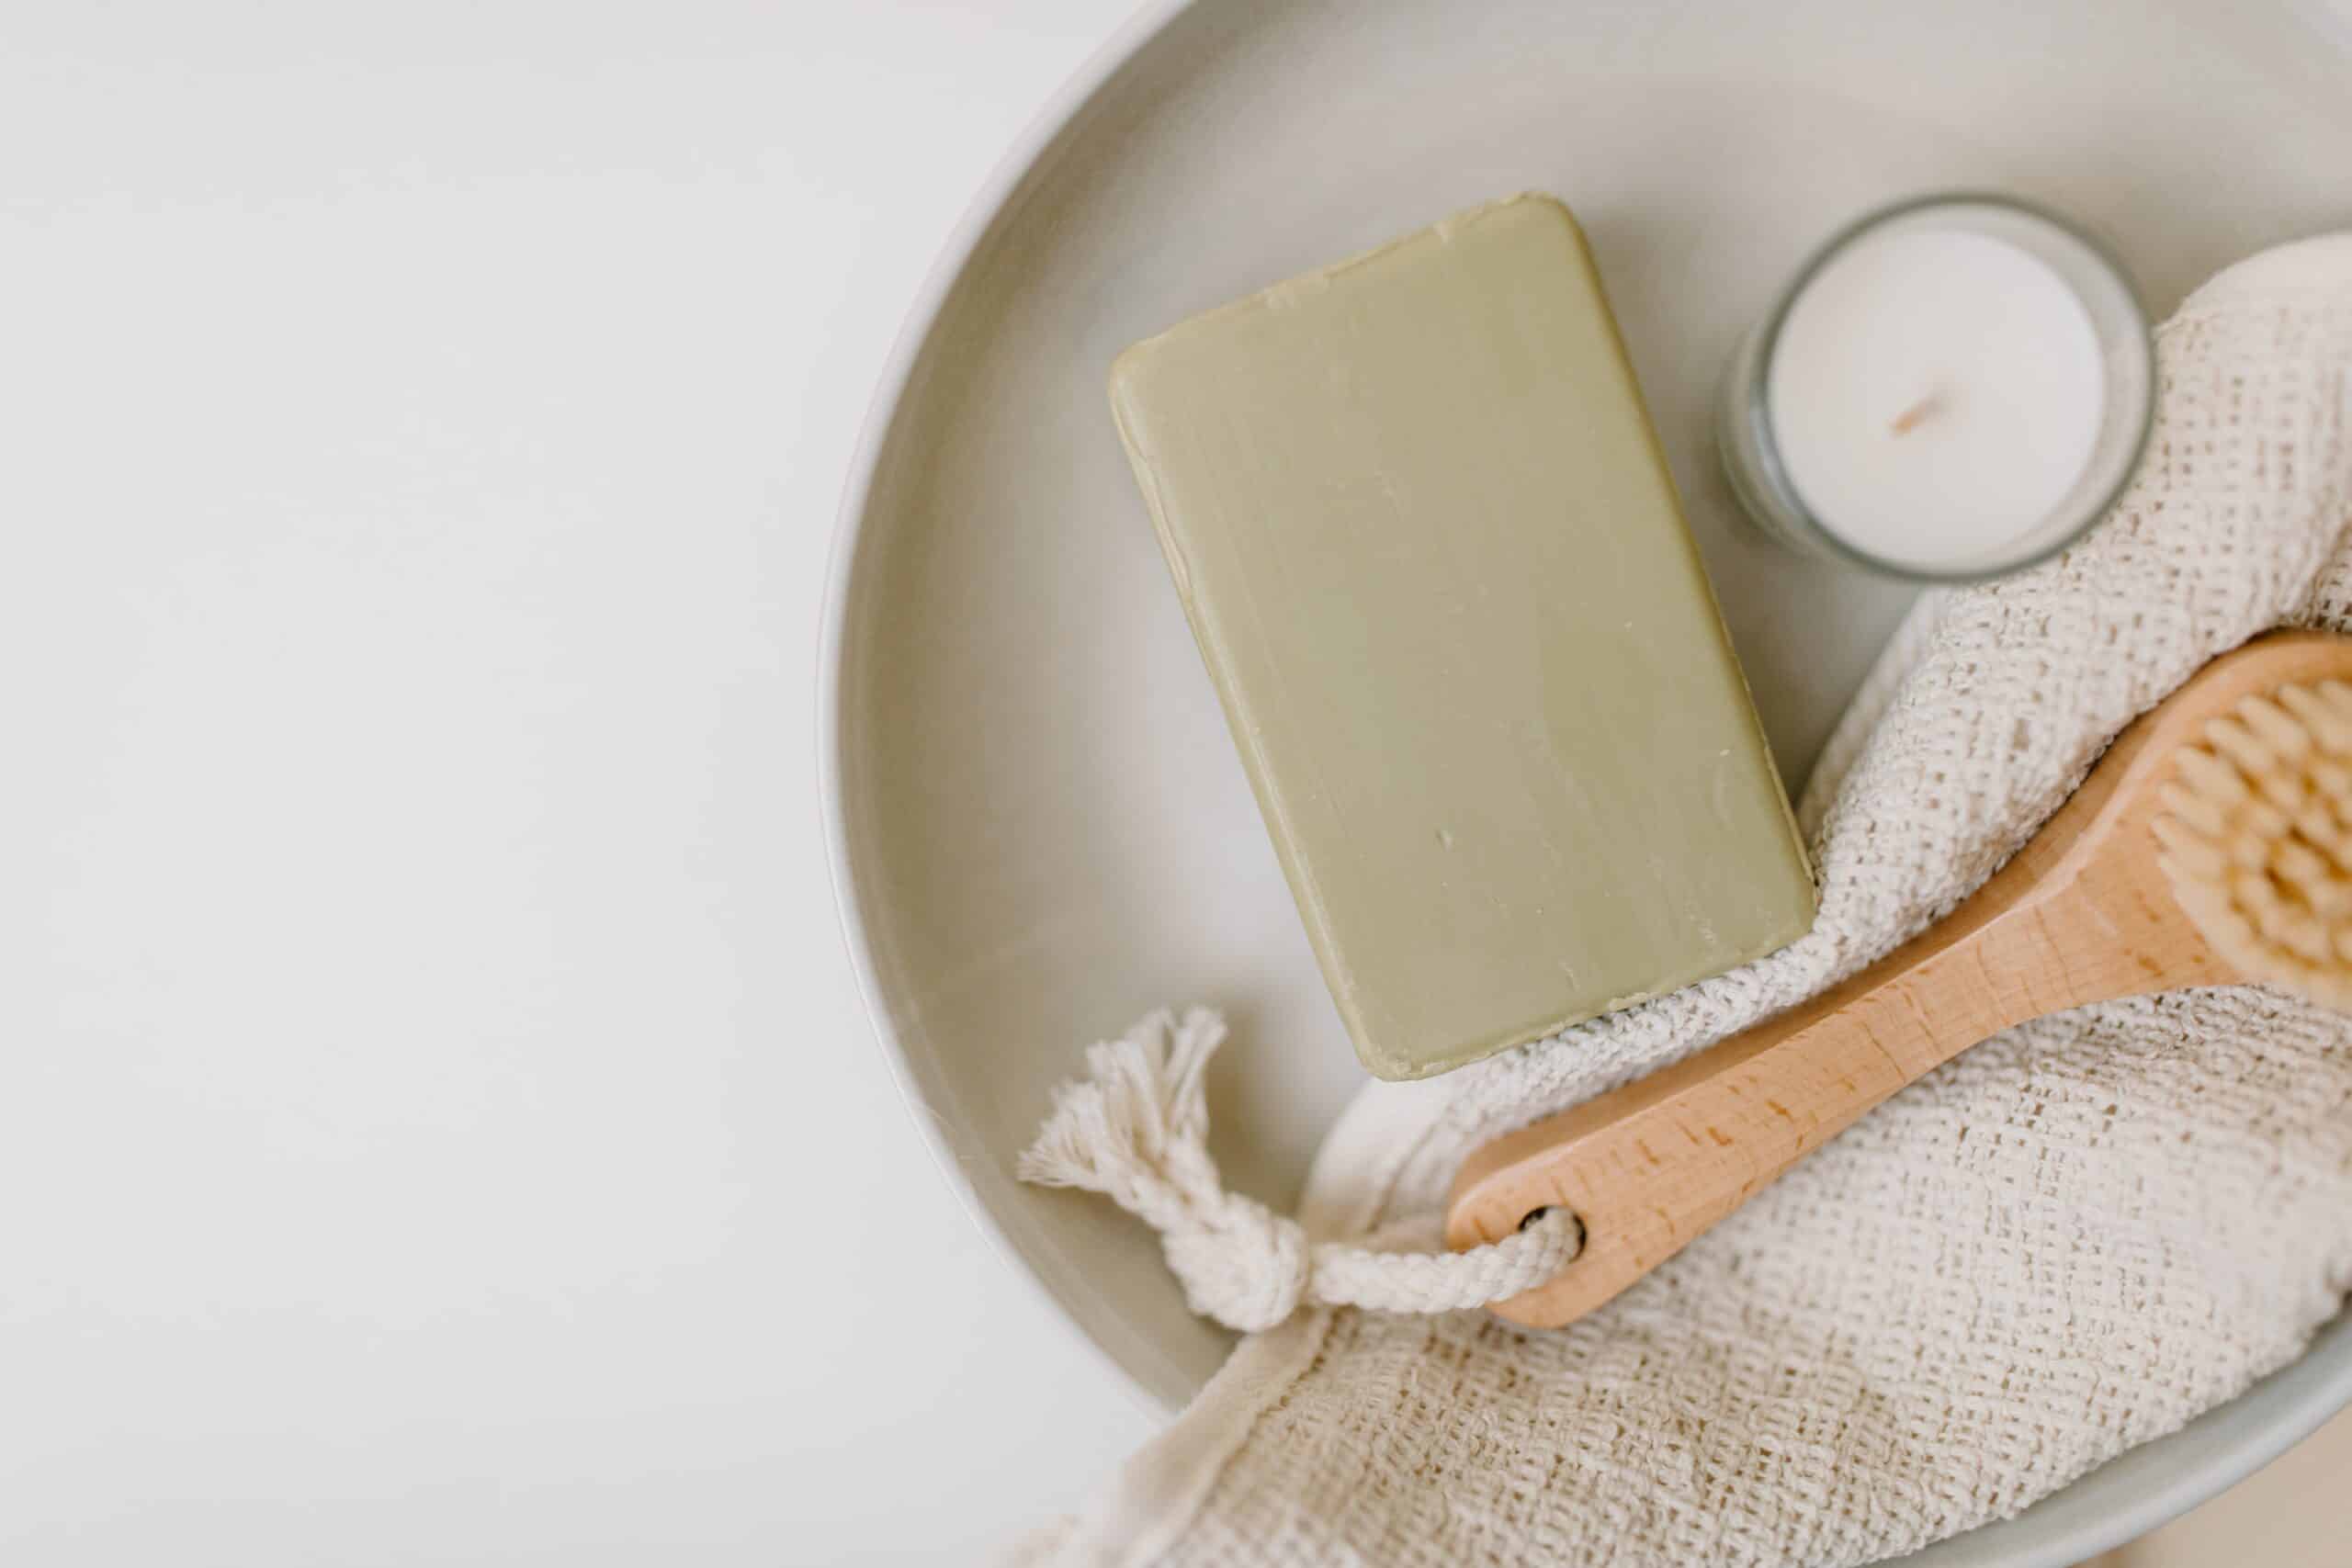
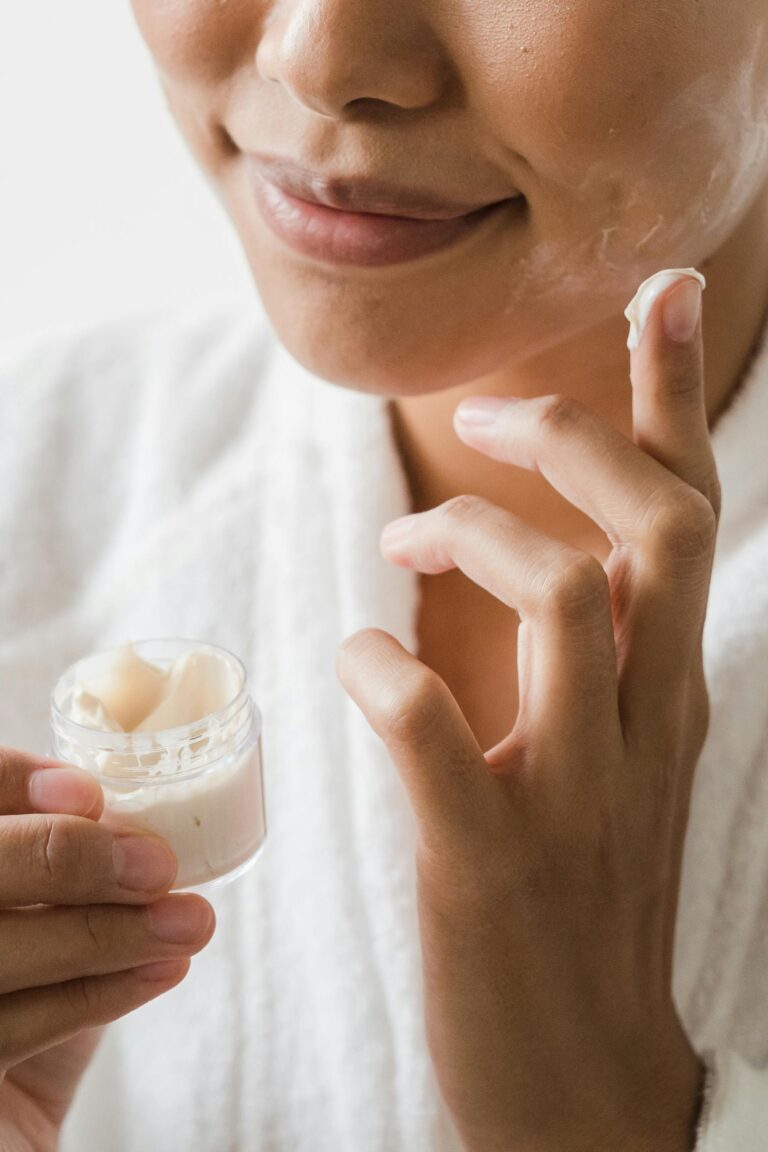
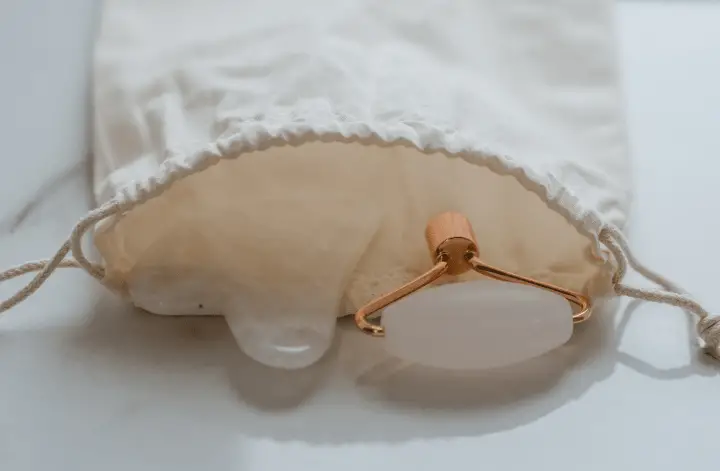
It’s really simple to give yourself a basic, yet nurturing and relaxing DIY Spa Day facial experience.
I know it feels a lot nicer to have someone else do it, while you relax on a massage table with all kinds of exotic ingredients being lathered on by an expert. But in a pinch (or a lockdown) you can totally give your skin a treat with just a few natural ingredients.
Some of these you may already have, others you might want to buy especially for the occasion. It’s completely worth it, especially because all the ingredients mentioned will serve double, triple, or quadruple purpose – and your skin will thank you.
Below I’ll give you a simple step-by-step process to give yourself a natural and completely DIY Spa Day facial. There are no complicated recipes or hard to procure ingredients.
Where possible, I’ll give you alternatives for some of the ingredients, in case they might be more convenient for you.
Nevertheless, all of the ingredients mentioned below will do the job and give your skin a boost!
Related content: How To Layer Skincare (Like You Know What You’re Doing!)
BASIC DIY SPA DAY FACIAL ROUTINE
STEP 1 – Cleansing
The absolutely first and most important step in your DIY Spa Day facial routine – you need to slough off all the dead skin cells that may be sitting on top of your skin.
You can choose whichever one you want or prefer for this step.
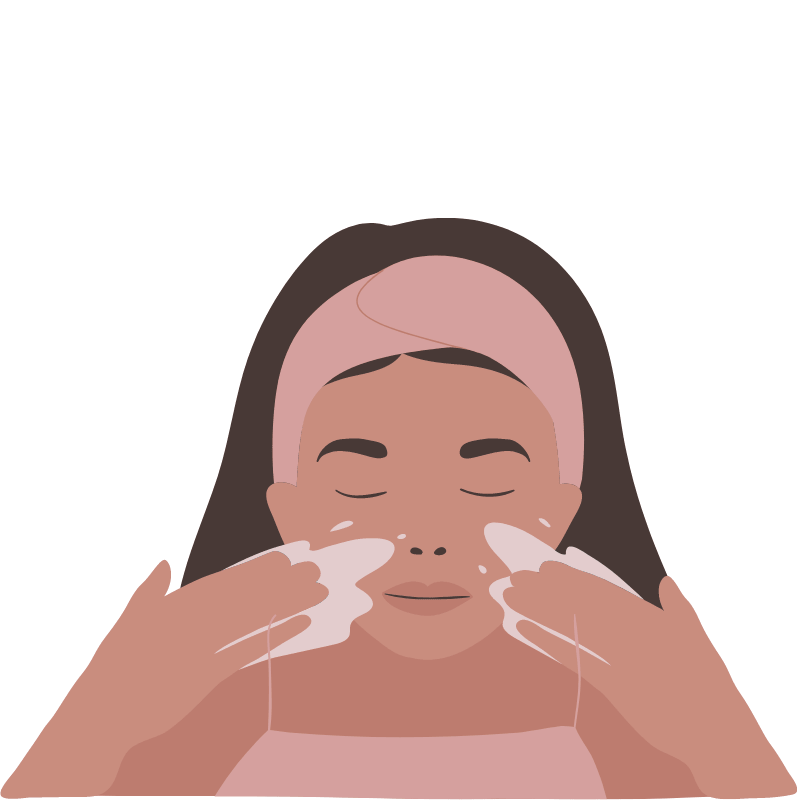
oil cleansing
Most people use olive, coconut oil, sesame oil or castor oil. If using castor oil, it’s usually best to mix it with another carrier oil, otherwise it’s too thick to work with comfortably.
OR
facial scrub
Related content: Get the Skinny on the Most Effective Homemade Face Cleansers
STEP 2 – Steam face
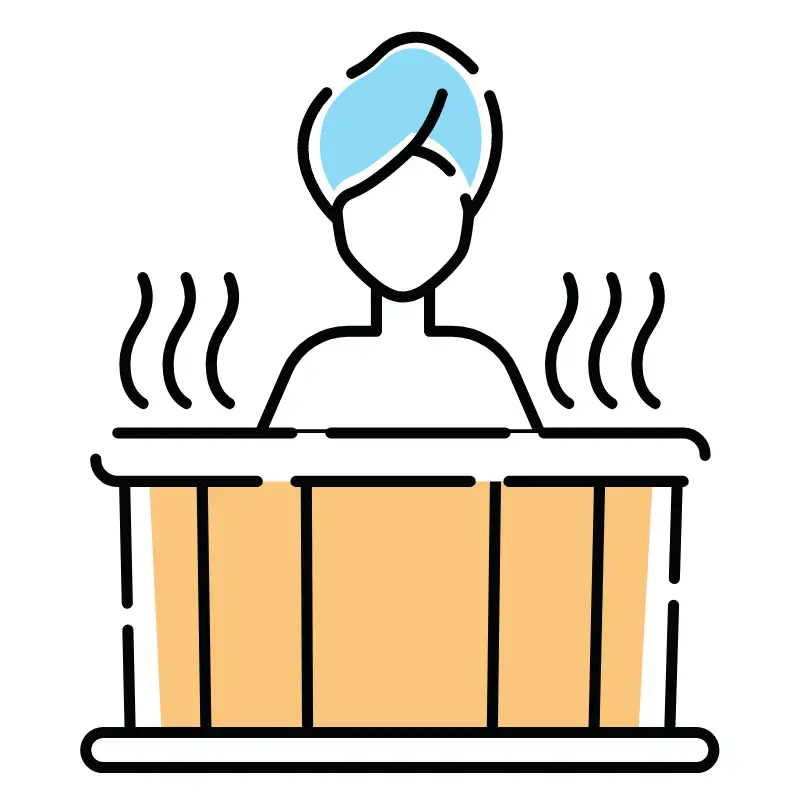
Still in the cleansing steps of our DIY Spa Day facial, we need to really clean out the pores.
The best way to do this is through steaming.
how to steam your face
Eucalyptus, rosemary and lavender are all antibacterial and toning.
Rosemary is stimulating and lavender is more relaxing.
Lemon peel is also antibacterial and uplifting.
Chamomile is soothing to the skin and relaxing.
STEP 3 – Facial mask
One of the classic steps in every DIY spa day facial.
Usually, every time you steam your face, or your body for that matter, you should always rinse it with cold water afterwards. This closes the pores and tones the skin further.
I wrote another post about all the amazing skin and health benefits of cold water contrast. If you’re curious, go check it out.
But since we’re applying a face mask directly after the steam, it’s best to apply it while the pores are still open and your skin still hot.
This way the nutrients and actives will penetrate deeper and more easily.

There are a few good possibilities for masks, depending on what you feel you need the most.
- For oily and/or acne-prone skin: clay mask – green or bentonite is best (mix the clay with enough water to make a paste)
- Dry or sensitive skin: full fat yogurt or honey (raw)
- Dull or dehydrated skin: honey, or honey with pure cocoa powder (mix together to make a paste)
- Normal skin: honey or yogurt
Related content: Hack Your Skin Care – A Bentonite Clay Mask 4 Ways!
STEP 4 – Toning
It’s made simply by mixing vinegar and water. It’s best if the vinegar is organic and with the mother, but other than that it could be apple cider, rice, white wine vinegar – whatever is handiest for you.
The important thing is that it’s not cleaning vinegar, because the acidity level in this vinegar is much higher. A 5% acidity is ideal.
how to make and apply vinegar toner
Distilled is best because there are absolutely no minerals in it that might deposit on the surface of the skin and make it feel dry or rough.
Related content: So You Just Want a Simple DIY Toner For the Face?
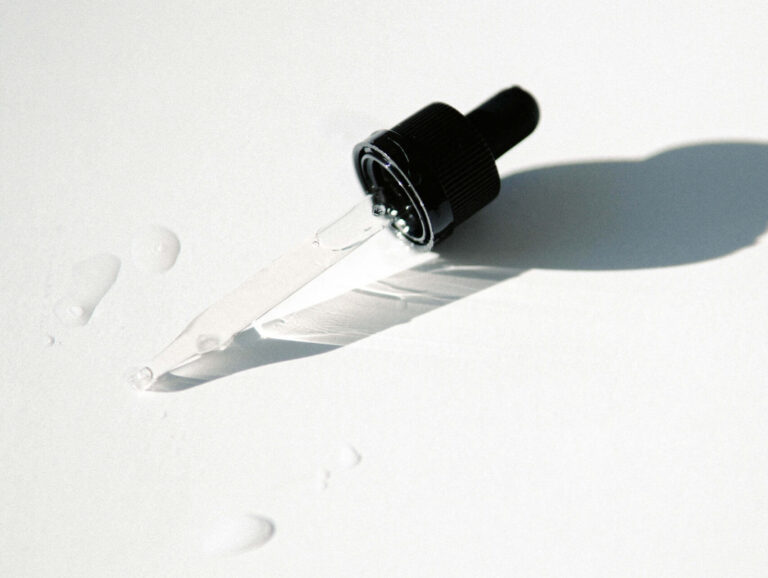
STEP 5 – Moisturizing serum
The water or toner will help hydrate the skin, while the oils will lock in that moisture and help to nourish the skin.
These face oil recipes are very basic, but they pack quite a punch due to the essential oils used.
They are in themselves serums, as well as moisturizers.
You should choose the oils and essential oils depending on the type of skin you have, or the skin issues you might be facing at the moment.
Having said that, many essential and carrier oils serve different skin types and skin concerns, though they might be more popular for one thing or another.
Bellow you’ll find the list of the most recommended and readily available oils to choose from. You can mix and match if you want, but you’ll be served perfectly by any of them individually (one carrier oil and one essential oil).
So choose according to your convenience or preference. Needless to say, all essential oils should be 100% pure and all carrier oils should be pure and cold-pressed.
Oily skin, acne-prone skin, breakouts
Carrier oils: jojoba, grapeseed, tamanu, pumpkin, sunflower
Essential oils: tea tree, lavender, rosemary, clary sage, Frankincense
dry skin
Carrier oils: olive, avocado, argan, almond, rosehip, jojoba
Essential oils: chamomile, geranium, Frankincense, lavender
normal skin
Carrier oils: jojoba, almond, sunflower
Essential oils: lavender, chamomile, rosemary
Sensitive or reactive skin
Carrier oils: avocado, olive, jojoba, apricot kernel, almond
Essential oils: chamomile, lavender, Frankincense, myrrh
mature skin
Carrier oils: rosehip, tamanu, olive, apricot kernel, jojoba
Essential oils: Frankincense, carrot seed, geranium, myrrh, lavender
How to mix and apply:
- 1 oz (30ml) of carrier oil with
- 8 to 10 drops of essential oil
Related content: Here Are the Most Effective 3-ingredient DIY Face Moisturizers
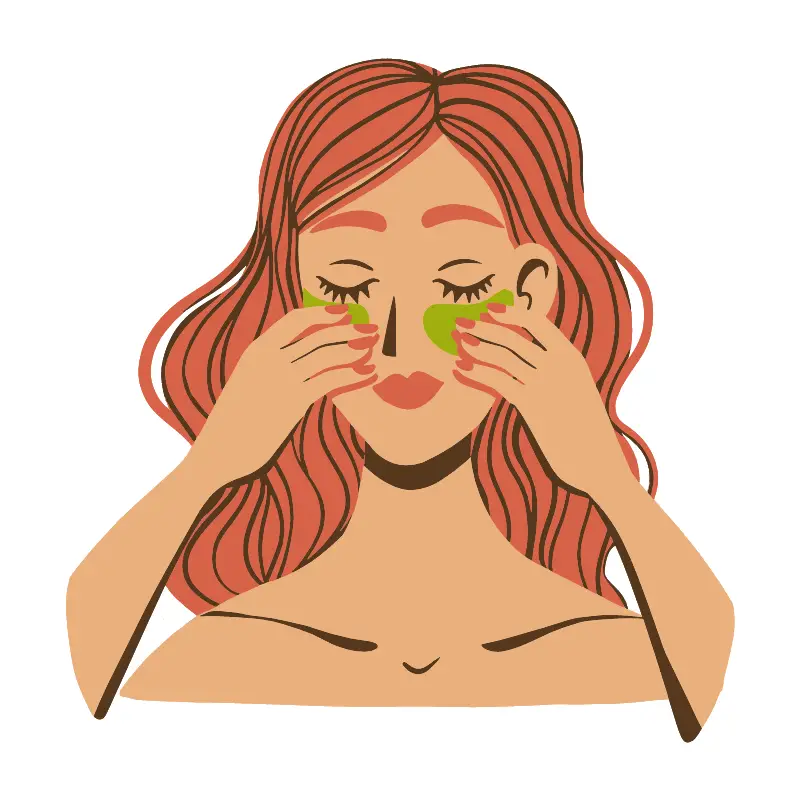
STEP 6 – Under eye treatment
STEP 7 – Acupressure facelift
I’ve shared this acupressure massage on a previous post on how to perform a lymph draining massage, as an added bonus step.
It’s taken from an excellent book on Ayurveda beauty techniques I’ve mentioned before.
It usually takes about 5 minutes or so, which is why you might not be very tempted to do it every day (like I’m not). But for a DIY spa day facial, it’s perfect!
how to
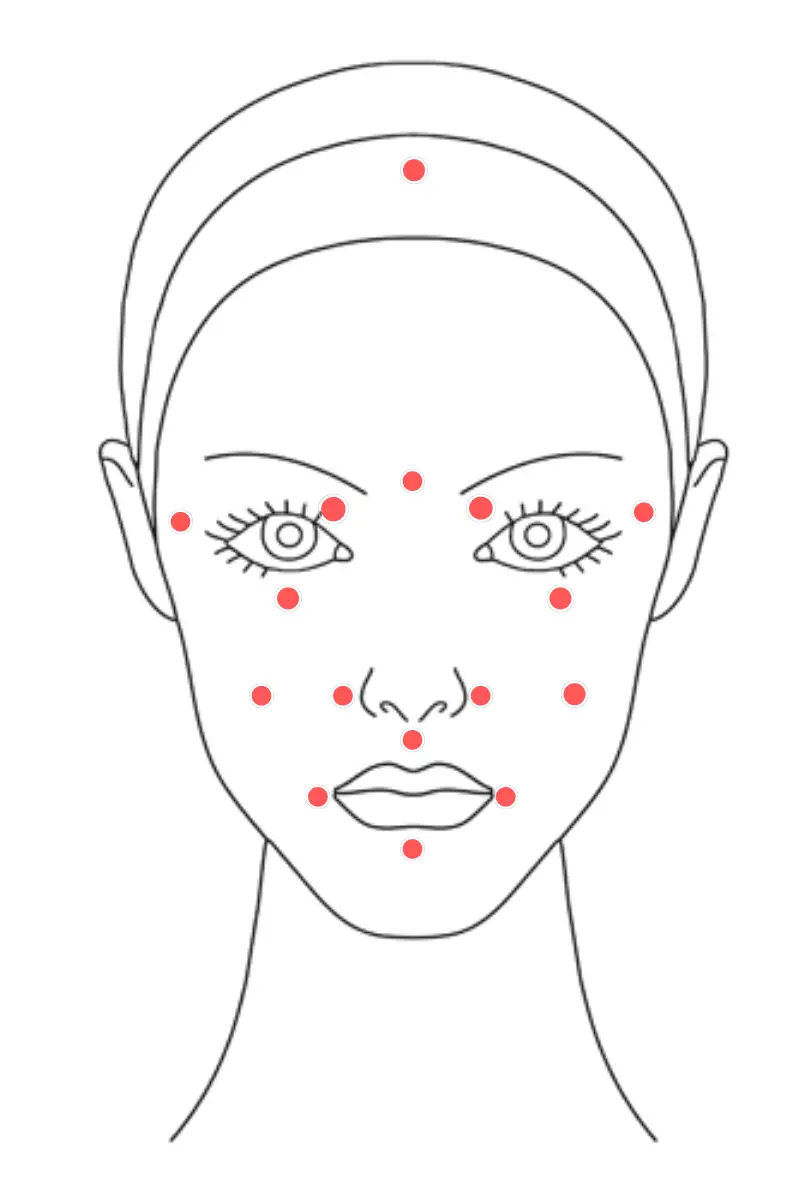
Points:
- Center of chin: helps to relieve head colds
- Both corners of mouth
- Center of bone between nose and upper lip
- Outside corners of nose where nostrils flare: it relieves the sinuses
- Center of cheekbones: push up on underside of bone and massage
- Lower lids just above cheekbones: don’t massage, press gently with ring fingers
- Brows: use thumbs to press upwards on inside corner of eyebrows at bridge of nose; with thumb and forefinger, pinch brow all across the arch, from inside to outside corner (if sore that means there’s built up tension). Can relieve headaches.
- Temples: use flat of fingers
- Third eye
- Crown: place both hands on top of head and move them rapidly back and forth
STEP 8 – Face slapping
Yes, really!
This might sound crazy, but trust me there’s logic behind it and why you’d want to add it to your DIY spa day facial routine.
I’m not talking about serious b*tch-slapping here – they’re light taps! Be even gentler around the eye area, but feel free to go a bit harder on the rest of your face, especially under the chin.
Related content: A DIY Spa Day Hair Care Routine You’ll Love
This is a great but simple DIY spa day facial routine that is both fun and doesn’t take a lot of resources. You can also play around with the ingredients, as well as add other more exotic ones, if you’re in the mood for an extra treat.
If you can carve out an hour for yourself every week or so for some TLC, you’ll definitely reap the benefits of all that skin sloughing, deep cleansing, and tissue stimulation.
I hope you enjoyed this DIY Spa Day facial and let me know what you think if you give it a try!
